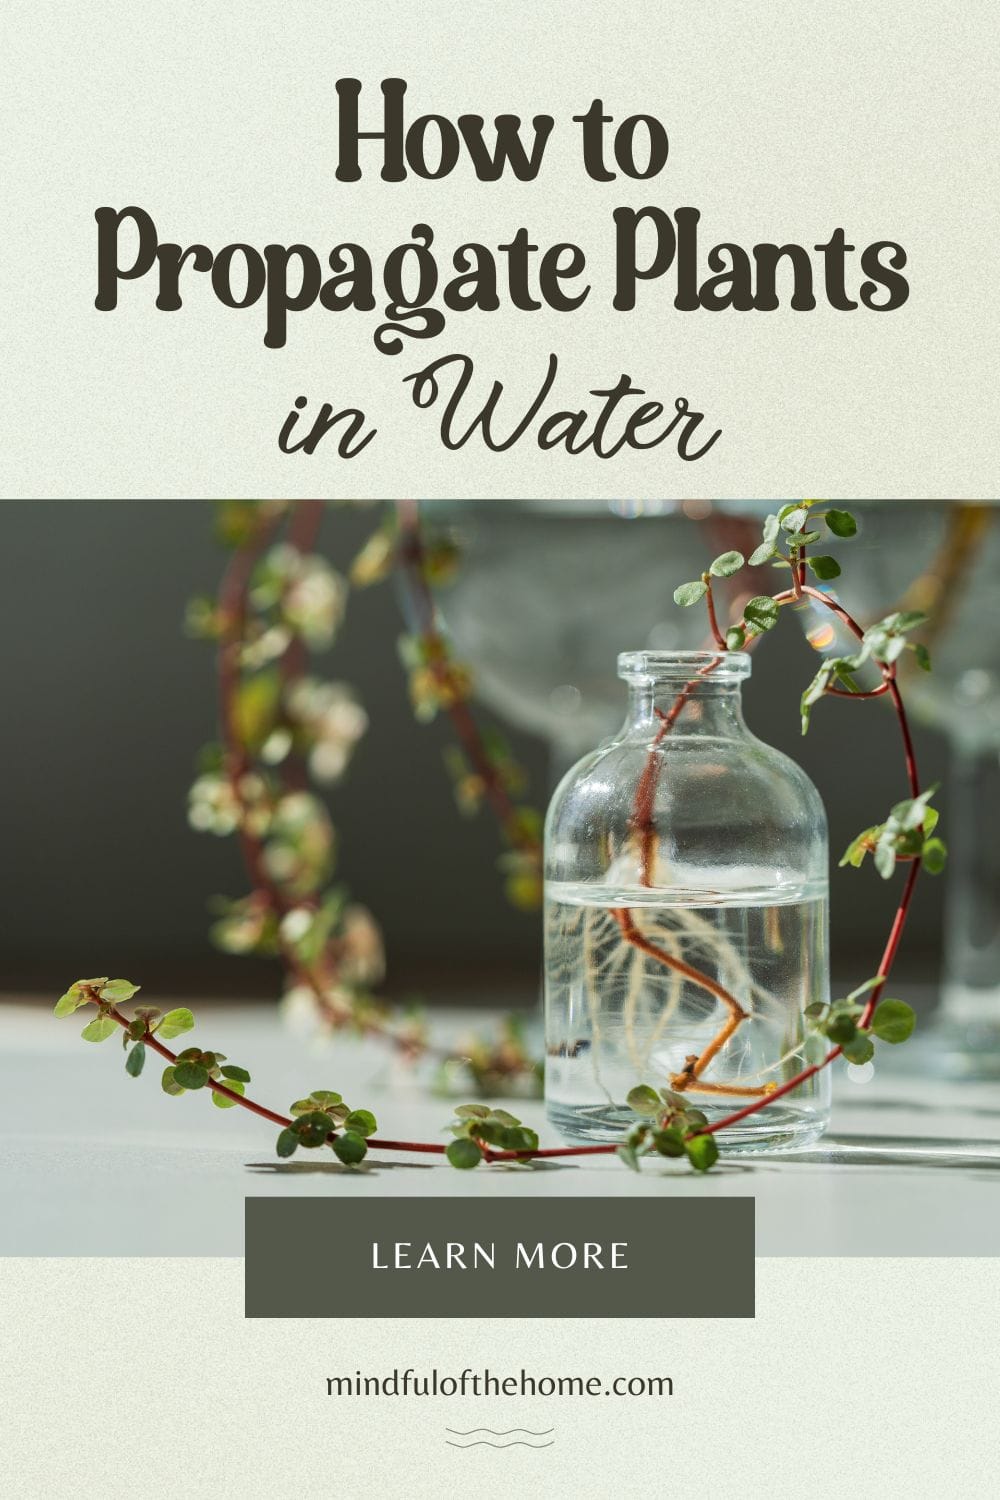
Ever wished you could grow new plants for free? With water propagation, you can!
Propagating indoor plants through water propagation is a fun, rewarding, and straightforward process that allows you to easily expand your plant collection. In this guide, we’ll walk you through the step-by-step process of taking cuttings from indoor plants and rooting them in water.
From selecting the right cutting to caring for it during the propagation process, you’ll learn everything you need to know to successfully propagate your favorite indoor plants.
Houseplants like Pothos, Spider Plants, and Monstera are renowned for their easy rooting processes and adaptability, making them popular choices for water propagation.
Herbs such as Mint, Basil, and Rosemary are not only flavorful but also quickly develop roots in water, providing a fresh supply for culinary use. Vines and climbers, including English Ivy and Wandering Dudes, gracefully root in water and bring lush, trailing greenery to any space.
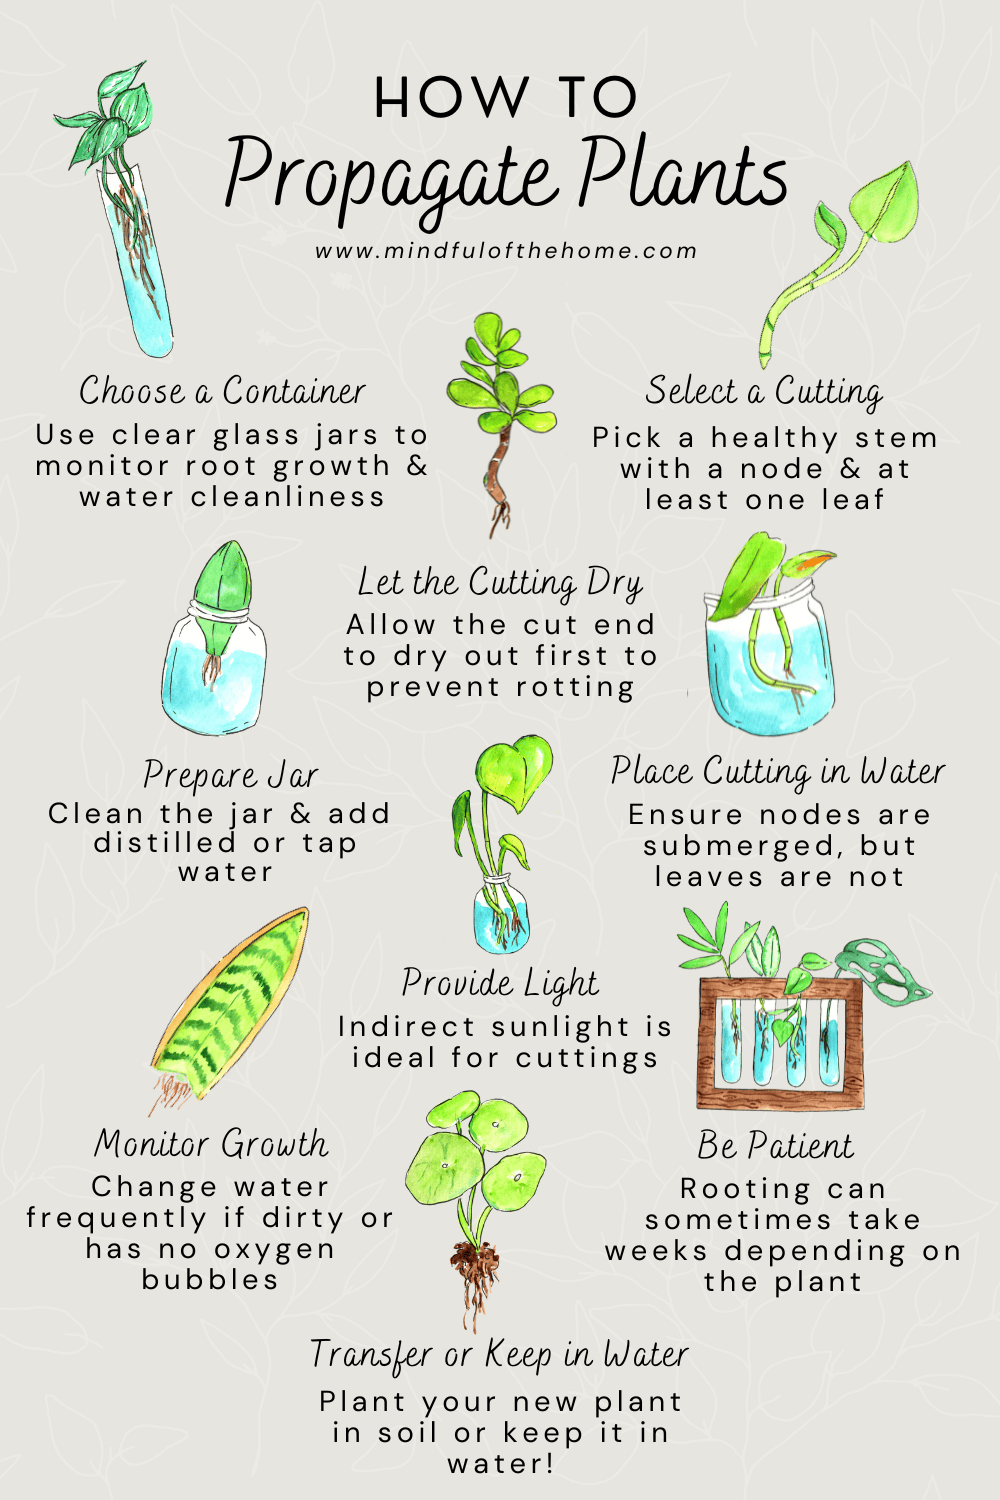
1. Choose a Propagation Container

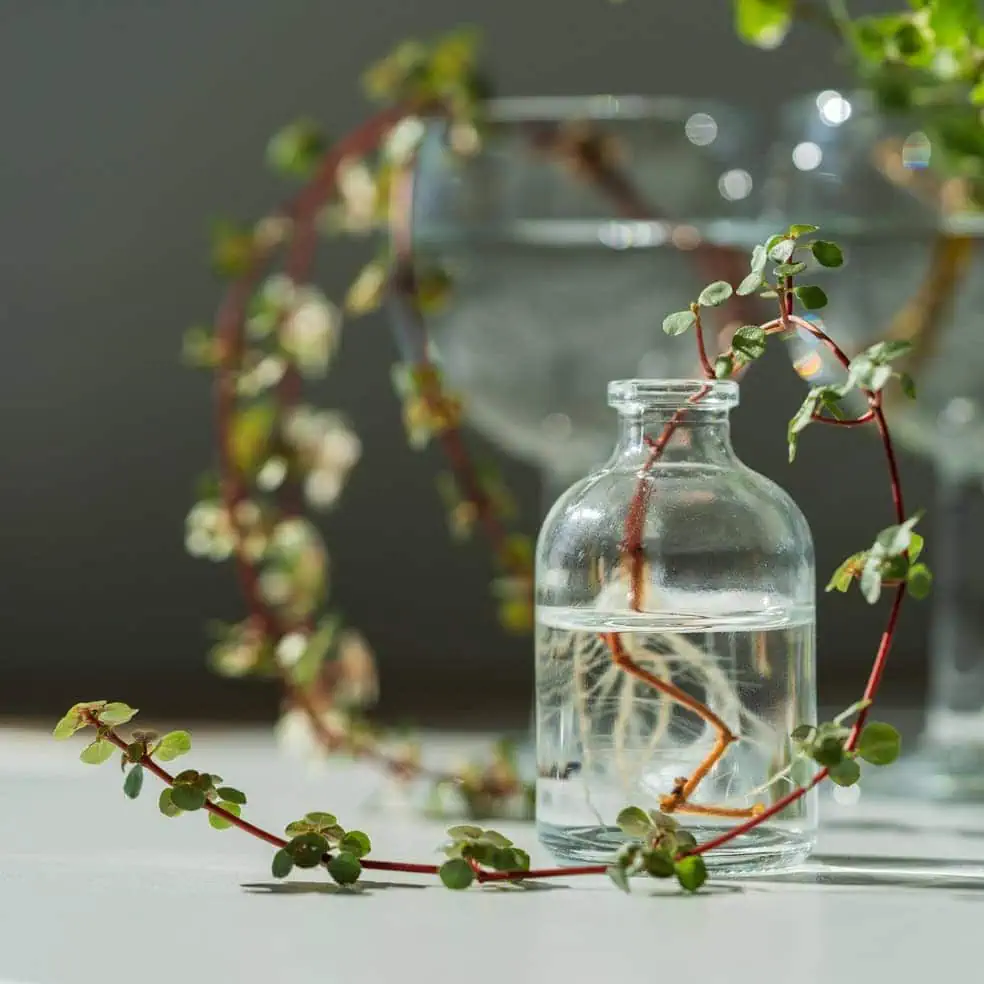
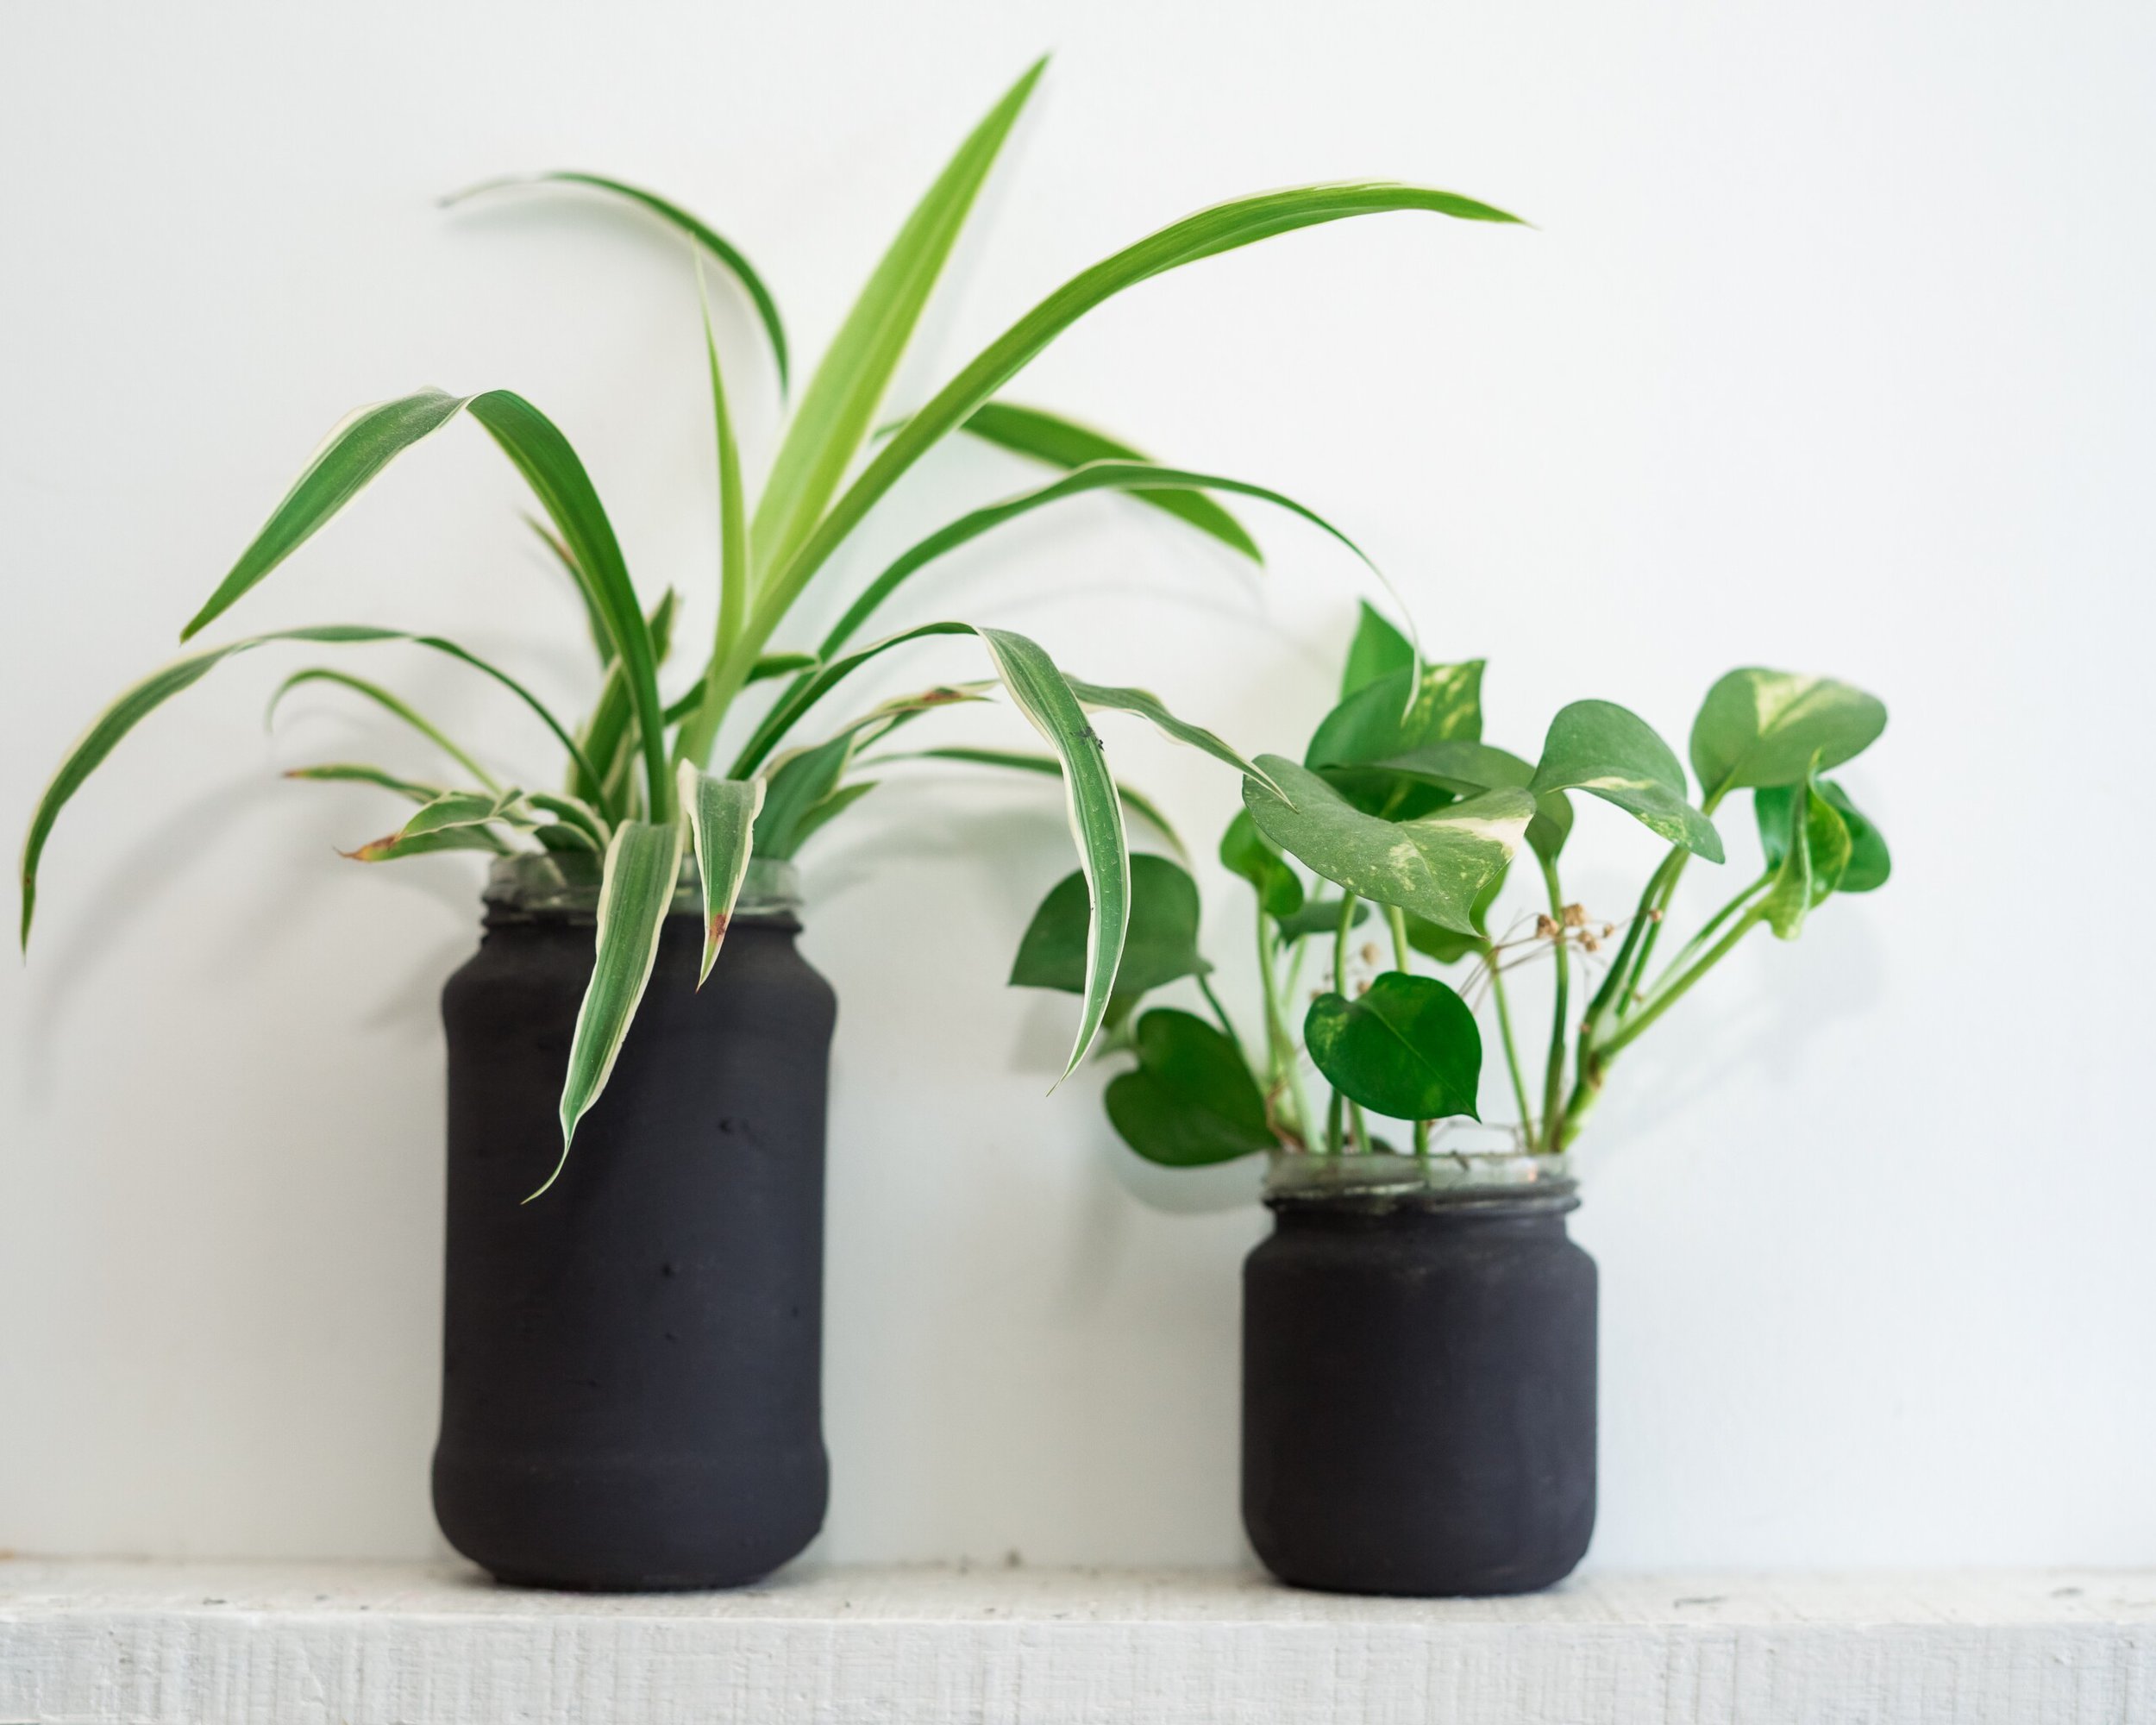
While you can technically use any small container for water propagation, clear glass containers are preferred for water propagation due to their transparency, allowing you to easily monitor root growth, water quality, and water levels. However, if the jar will receive direct sunlight, opt for dark glass or opaque containers.
When selecting a container for water propagation, opt for vessels with narrow openings and sufficient depth to support the cuttings. This prevents overcrowding and allows for ample root growth.
Consider repurposing food items such as spice jars, jam jars, glass juice bottles, etc. Thrift stores are also an excellent place to find unique containers for water propagation.
2. Select and Cut the Cutting

Choose a healthy and mature stem or leaf from your indoor plant for propagation. Avoid using damaged or diseased plant material to ensure that the propagation will be successful.
Look for a stem with several nodes, as these are the points where roots will emerge. Use clean and sharp scissors or pruning shears to make a clean cut just below a node. Remove any excess leaves below the node to avoid rotting.
3. Allow the Cutting to Dry
After taking the cutting, allow the area that was cut to dry out slightly before placing it in water. Place the cutting in a warm and dry location with indirect sunlight for a few hours to allow the cut end to dry out and callous over.
This step helps to prevent the cutting from rotting because it encourages the development of calluses, which are protective tissues that form at the cut end of the stem.
4. Prepare the Propagation Jar

Prepare a glass jar or container for water propagation. Make sure the container is thoroughly cleaned and disinfected to prevent contamination. Fill the container with your choice of water, leaving enough space at the top to accommodate the cutting without submerging the leaves. You may have to remove leave that touch the water as they may rot.
There are several ways to prepare water for propagation. One common method is to use distilled water, which is free from impurities and provides a clean environment for root development. Additionally, adding a small amount of tap water (about 10% or less) can supplement the distilled water with essential nutrients, promoting healthy growth.
You can use tap water for water propagation, but if you notice your cutting is not thriving, it may be because tap water often contains chemicals such as chlorine and fluoride, which can inhibit root growth and potentially harm sensitive plant cuttings. To mitigate this, you can let tap water sit for 24 hours to allow the chemicals to dissipate.
5. Place Cutting in Water

Once the cutting has dried out slightly, carefully place it in the prepared container filled with water. Ensure that at least one node is submerged in water, as this is where roots will develop.
You can propagate multiple plants in one jar to speed up rooting and create visually appealing displays. Grouping cuttings from plants like Tradescantia and Pothos with other plant cuttings offers benefits like enhanced root growth, shared nutrients, and a microclimate with higher humidity.
For more humidity, place a clear plastic bag over the propagation container to create a makeshift humidity dome. This helps retain moisture and create a more humid environment, ideal for root development.
TIP: Top off the water or change the water completely when there are no oxygen bubbles left in the jar.
6. Provide Adequate Lighting

Proper lighting is important for successful water propagation, and providing indirect sunlight is key for healthy root development in your cuttings. While it’s tempting to place your propagation containers in direct sunlight to speed up the rooting process, exposing them to intense sunlight can actually do more harm than good.
Direct sunlight can cause the water in the containers to heat up, leading to increased temperatures that may stress or damage delicate plant tissues. Also, prolonged exposure to direct sunlight can promote algae growth in the water, which can suffocate emerging roots and hinder their development.
Instead, opt for indirect sunlight when positioning your propagation containers. Indirect sunlight refers to light that is filtered or diffused, such as light that passes through a sheer curtain, a frosted window, or bounces off a nearby wall.
A window screen also filters light, making windowsills a good spot to place your propagations. This type of lighting provides the perfect balance of warmth and brightness without the risk of overheating or sunburning your cuttings.
7. Monitor and Maintain the Cutting

While waiting for roots to develop, take this time to observe and monitor the progress of your cuttings. Look for signs of new growth, such as emerging roots or fresh foliage as that indicates things are going well.
Throughout the propagation process, periodically check the water level in your containers and top up as needed to ensure that the nodes remain submerged. Change the water every few days to prevent stagnation, and keep an eye out for oxygen bubbles in the water. If there are no bubbles then change the water since oxygen is crucial for root development.
If you notice that your cutting is not growing roots even after weeks of water propagating, try changing the water more or changing the propagation jar. If you’re prone to forgetting about changing your propagation water, opt for a larger glass so you don’t have to change the water as often.
8. Be Patient
One of the most crucial aspects of water propagation is patience. While it’s tempting to check on your cuttings frequently or expect rapid root growth, it’s essential to remember that propagation is a gradual process that takes time.
Root development can vary depending on factors such as plant species, environmental conditions, and the health of the cutting. Some cuttings may root quickly, while others may take several weeks to show signs of growth. Just be patient and monitor the water and light levels.
9. Plant the Cutting or Keep in Water

After your cuttings have developed strong roots that are at least a few inches long, and even better if the roots have roots, you have two choices: planting them in soil or continuing to grow them in water.
Transferring to Soil
Wait until the roots are 2-3 inches long, robust, and branching. This typically takes 3-6 weeks. Ensure the roots are white/light and firm. When transferring to soil, use a pot with drainage holes and well-draining soil. Plant the cutting, water thoroughly, and place it in bright, indirect light. Keep the soil moist during the initial phase.
Keeping the Cutting in Water
If you enjoy the aesthetic and simplicity of water propagation, you can keep your plant in water long-term. Choose a larger container to accommodate the growing roots, and replace the water every 1-2 weeks to keep it clean and oxygenated. You might also add a diluted liquid fertilizer occasionally to nourish the plant.
Keep the container in bright, indirect light to promote healthy growth, rotating it occasionally for even exposure. Monitor root health regularly, looking for white, healthy roots. Clean the container monthly to prevent algae buildup.
Final Thoughts on Water Propagation
Water propagation offers a straightforward and rewarding way to expand your indoor plant collection. By following the step-by-step process outlined in this guide, you can successfully root cuttings from your favorite houseplants, herbs, vines, and climbers.
The key is to choose the right containers, carefully select and prepare your cuttings, and provide proper care throughout the propagation process. Whether you decide to transfer your rooted cuttings to soil or keep them in water for their aesthetic appeal, you’ll enjoy the satisfaction of nurturing new plants from scratch. With patience and attention, anyone can master water propagation and create a lush, green oasis in their home.
For more houseplant tips, check out this post of 22 household items you can repurpose as planters!